
Templates
Upload Template
After creating your personalized template, upload it to PDF CreateMate to start generating documents.
Upload Steps
- Refer to the Create Template section to create your personalized template first.
- In the Templates list, click the Template Builder button to start the upload process.
- Choose one of the import options:
- Upload .docx from your device.
- Import from Google Docs by pasting a Google Docs link (Sheets/Slides are not supported).
- Use HTML: either upload an
.html/.htm/.txtfile or paste raw HTML for analysis and placeholder mapping. - Upload PDF Form: upload a PDF with interactive form fields and map them to HubSpot properties.
- Optionally, set default values for any dynamic properties in your document. Once done, click Save and continue.
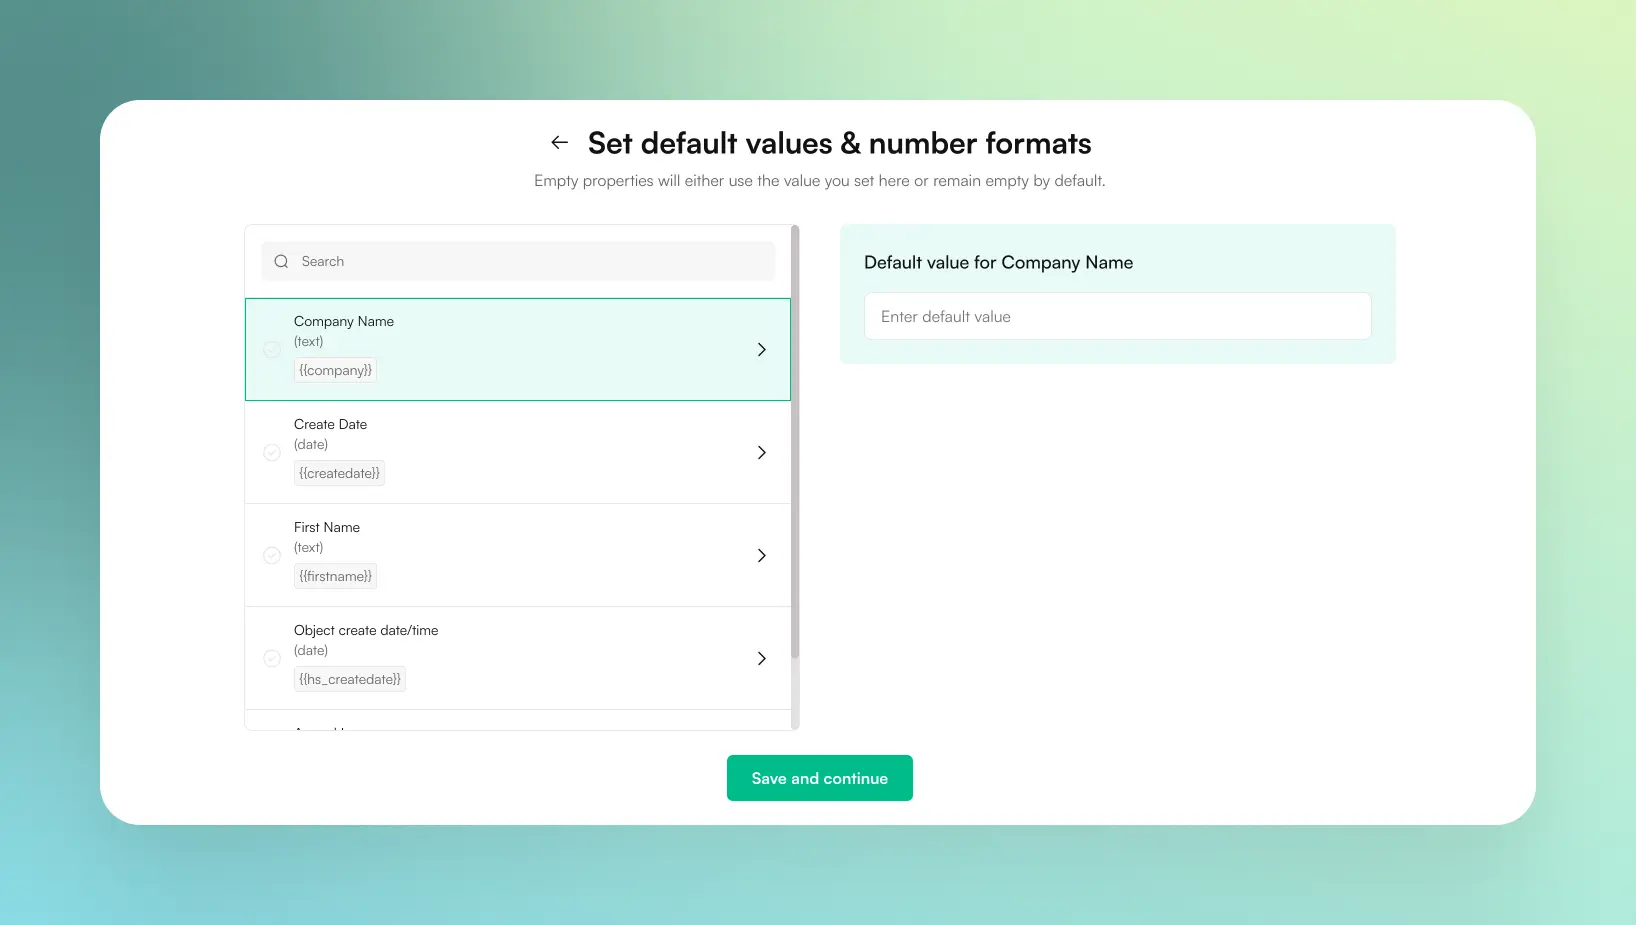
Image description
- A search bar to filter properties
- Tabs to switch between HubSpot Properties and PDF CreateMate Properties
- Filters for property types (All, Text, Number, Date, Boolean, File)
- A list of available properties on the left with their names and types
- A configuration panel on the right for the selected property
- Number formatter options (None, Currency, Ordinal, Percent, Phone, Decimals)
- A locale selector for number formatting
- An optional default value input field
- A placeholder preview with example output
- A button to add the configured placeholder
-
Choose a HubSpot property (for your selected object type) to store the generated document file. The property must be of type file. If no suitable property exists, create a new file property in HubSpot, then click sync properties in PDF CreateMate to select it.
This selection happens on the Settings step near the start of the builder. -
Assign a distinctive and meaningful title to your template for easy identification (also on the Settings step).
-
Proceed through the remaining builder steps (placeholders, source, test). On the final step, click the top-right Publish button. Publishing:
- Auto-saves your settings
- Starts the HubSpot configuration job (creates/updates properties and, if your portal permits, creates the workflow action)
- Marks the template as configured once the job finishes
-
After publishing, PDF CreateMate runs the HubSpot configuration. If your HubSpot account supports workflows, PDF CreateMate automatically creates the workflow action; you can adjust triggers inside HubSpot afterward.
Output Format
In the Settings step you can choose the output format for your generated document:
- PDF (default) — Converts your Word/HTML template to a PDF file. This is the standard format for most use cases.
- DOCX — Keeps the output as a Word document instead of converting to PDF. Note: DOCX output is not available when Signatures are enabled.
Add to Attachments Card
The Add to Attachments Card toggle (in the Settings step) controls whether the generated document appears in the Attachments card on the right sidebar of the HubSpot record, in addition to being stored in your chosen file property.
- Enabled — The document is saved to your file property and appears in the Attachments card on the right sidebar of the HubSpot record
- Disabled — The document is only saved to your file property
Enabling this option adds 3 credits per generated document.
Related Configuration
For detailed information on specific configuration options, see:
- Number Formats - Configure how numbers, currencies, and percentages display
- File Naming - Customize output file name format with dynamic placeholders
- Embedding Fonts - Ensure custom fonts display correctly
Supported File Types
Currently, PDF CreateMate supports:
- Microsoft Word documents (.docx)
- Google Docs (via shareable link; Sheets/Slides are not supported)
- HTML content (upload .html/.htm/.txt or paste raw HTML)
- PDF forms with interactive fillable fields (.pdf)